Tuesday, 23 September 2014

Natural Color Rainbow Cake

Finally, it comes to the eve of my son's birthday (9 Years Old). Tonight, I have to bake at least 6 layers of butter cake with different color. Why at least 6 layers? It is because I might fail in the first attempt and need to re-bake it. Anyway, it is a really an exciting night for me. 

For the coloring, I opt for natural color. As a health conscious person, I am really worried on the chemical in the food coloring. With mentally and physically prepared, I am planning to use natural color for this cake. I think it is really important to get yourself physically prepared as you need to do a lot of cleaning and cooking in order to get the different color. Why mentally? It is because the color that you want to achieve may not be as nice as the artificial coloring. The color may not be as intense or as sharp as you thought.

You may refer to my website on the preparation of "Natural Food Coloring". Although it is tiring, I would say it is worth to spend some time as you do not have to worry on the chemical in the food coloring. Trust me....healthy is the most important. Do not think of tiredness...just take it as an enjoyment to prepare healthy food for the family.

Having said that, I do really feel proud of myself for spending so much time and effort in preparing the natural color for this cake. At the end of the day, you will feel the satisfaction when you see your kids enjoying the cake that is safe with natural color. No preservatives and no artificial coloring  :)


Ingredients for 1 layer of 8" round cake
100 g cake flour
60 g sugar
1 tsp baking powder
90 g butter
20 ml (milk and coloring)
3 small eggs
(NOTE: For the green color cake, you may add in 1 tsp of green tea. Other ingredient remain the same)

1. Preheat oven at 170'C.

2. Whisk butter and sugar until fluffy. Then, slowly blend in the eggs, milk and coloring while folding in the flour until everything is blended well.

3. Pour into a baking pan. Layer the batter well and bake for around 5-10 minutes. (Make sure that you had layered a piece of wax paper onto the bottom of baking pan)

4. Cool down the cakes, and put into fridge for at least 2 hours or overnight. This step is to ensure that the cake layers are harden and much easier to handle during assembly steps.


I have forgotten to take 2 batches of color....maybe I am too rushing  :)


Assembly the cake

This is the most important stage. We do not want to have a topple or uneven cake. I am using butter cream for my layering icing because it gives a stronger holding power as compare to whip cream. As a beginner, I always go for a safer approach. If you are a beginner, please watch the video on How to Decorate with Buttercream before started on the assembly steps. 


Butter cream
240 g butter
600 g icing powder
4 tsp vanilla essence
120 ml milk (or less, depending on the butter cream consistency)


Layering a thin layer of butter cream in between each layer of butter cake 

1. Butter cream acts as the 'glue' for the layering. Thus, before starting any layering, apply some butter cream on the cake board. Then, put on the first layer which is red onto the board. Make sure the cake layer sticks well on the board.

2. Then, starts applying a thin layer of butter cream on top of that red layer. Thickness should be around 2-3 mm as you do not want the cake to be so creamy. Do not worry of the appearance. 

3. After the butter cream is evenly spread onto the red layer, put orange layer on the top. Apply butter cream and repeat the same steps for other layers. 

4. Please remember to follow the RAINBOW COLOUR arrangement: RED, ORANGE, YELLOW, GREEN, BLUE, VIOLET

5. With the remainder of the butter cream, you may use to layer the side of the cakes to make sure that the gap is filled. 

6. Transfer the cake into the freezer to harden the cake again before frosting.


Frosting the cake: Cream Cheese frosting
225 g Cream Cheese
60 g butter
1 tsp vanilla essence
150 g icing sugar
NOTE: You may need to adjust the sugar according to the frosting consistency at room temperature. If the weather is warm, you need less of the icing sugar as cream cheese is softer. I have accidentally using 200 g and it is actually flowing down (eye tears) when I used it for my frosting.


Colorful layers....the color is not as attractive compare with 'food coloring'


Saturday, 20 September 2014

Natural Food Coloring

Coloring is an important ingredient in any baking. We want our cake to look attractive, thus coloring is important to achieve that outcome. There are a lot of negative comments on the food coloring and this makes me quite worrying whenever I am using food coloring. Due to my laziness, I always find an excuse to go for food coloring.

Everything changes today. I want to go for Natural Color from now on. We have been eating a lot of unhealthy food and I do not want my home becomes another unhealthy place. Everything comes in 'yin and yang'. If too much 'negative' food, at home always have to provide 'positive' food to balance up the life. This is just my thoughts. Maybe it is not correct  :)

Here are the colors that I would like to prepare:

Violet: Blueberry
Blue: Purple cabbage
Green: Green Tea
Yellow: Saffron
Orange: Carrot
Red: Beetroot


Since I am going for natural color, I always prepare the color a few days in advance. I froze the color in the freezer and defroze them by locate them in the vegetable compartment for a few hours before use them to bake any cake.


Here is the preparation of the colors:

1. Red: 1 medium Beetroot 
Beetroot is the best coloring due to its intense color. The color is so dark and you do not need to use a large quantity of it. The juice of the beetroot can be easily extracted using a juicer.  Then, transfer the juice into a pot and cook over a medium heat until it is thicken up.


2. Orange: 3 medium Carrots
Juice out the pure carrot juice using a juicer. Then, transfer the juice into a pot and cook over a medium heat until it is thicken up. The color looks a bit darker.


3. Yellow: 1 tbsp Saffron
Transfer Saffron into 2 tbsp of hot water. Let it sit for half an hour until the color is extracted out.


4. Blue: 1/2 medium purple cabbage  
Boil 100 ml of water. Put in the cabbage and let it boil until the cabbage leaves are soften or for around 10-15 minutes. Strain out the cabbage, reduce the liquid until it is thicken. Add just the tiniest pinch of baking powder (you really have to go slowly here or you can turn the whole batch green). Keep adding baking soda in small amounts until the color just turns blue. Remember,  the color of blue can still change. If you add it to an acidic food, it will go right back to purple.

I was accidentally added too much of baking soda and the color turns out to be slightly greenish


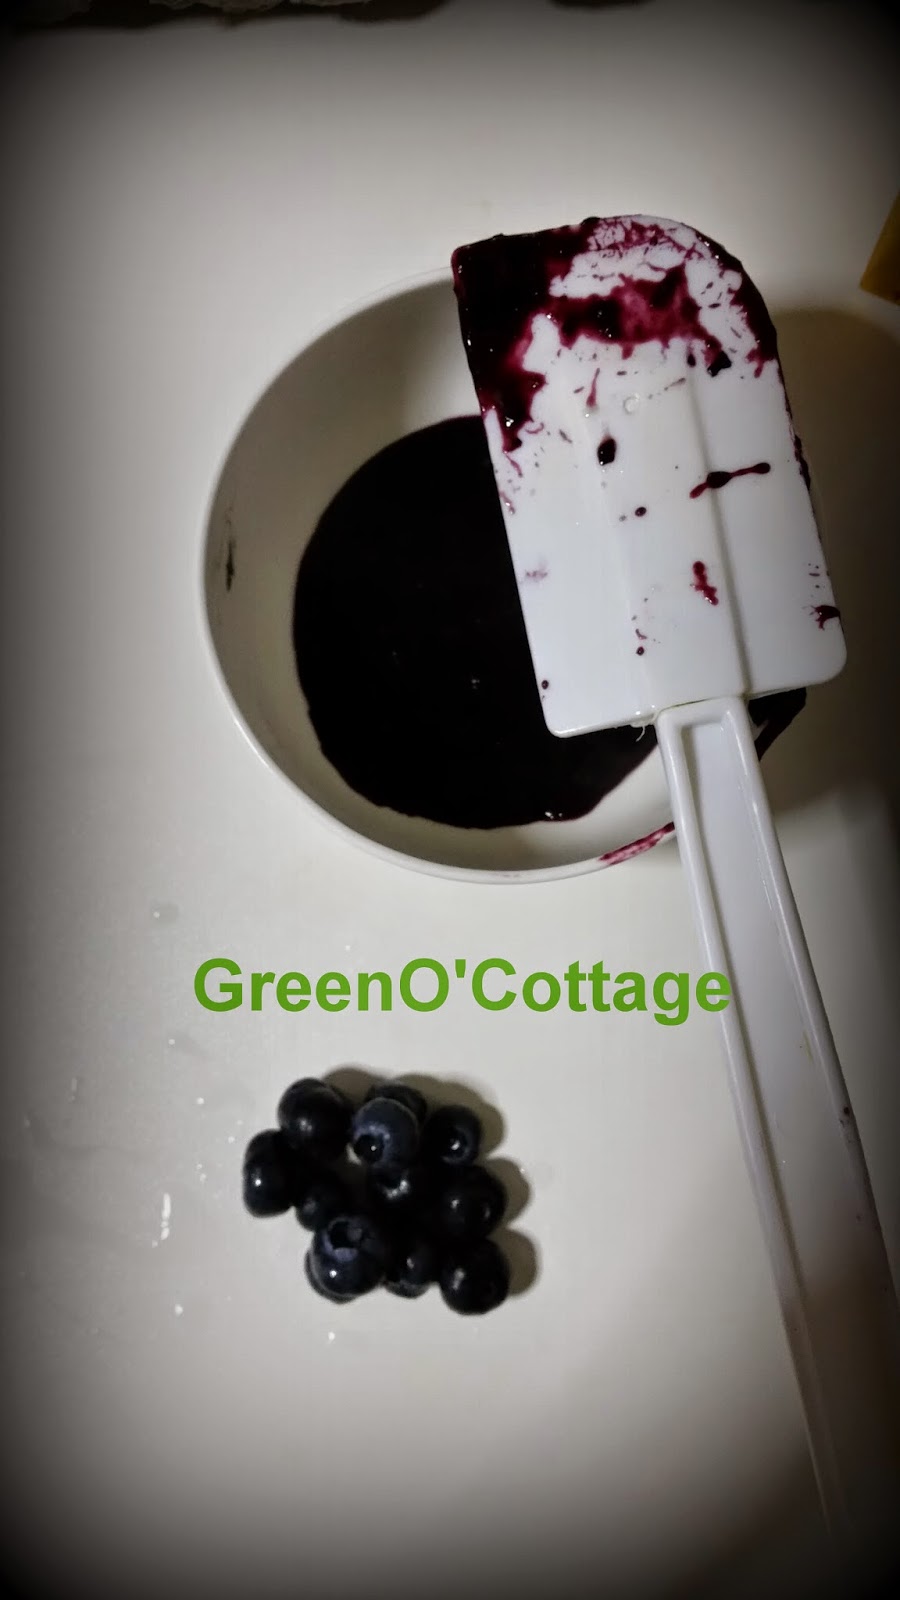
5. Violet: 100g of blueberries
Wash and blend all the blueberries in a blender. Then, transfer the juice into a pot and cook over a medium heat until it is thicken up.


Thursday, 4 September 2014

Black Tagliolini with Cream and Mushroom

Few weeks ago, I bought myself several packets of squid ink from a grocery shop. I was really happy and bought 4 little packets that can make 400 gram of pasta dough. That is the first thing that came across my mind when I saw the squid ink.

I have no time to explore into it until few days back when I have to stay at home to look after my fever girl. While she was sleeping, I managed to steal around 2 hours to prepare the black Tagliolini.


Black Pasta Dough
Despite its dramatic black color, this pasta has a delicate flavor with just a hint of the sea. My kids find the color is so special and love it very much. Now, they are started to ask me to prepare different color of pasta.

Ingredients
1 tbsp squid ink
4 eggs
400 g plain flour

1. Mix the squid ink with the eggs, then blend this mixture with the flour. Knead properly until all the ingredient are blended properly and forming a dough. Let it rest for 20 minutes before roll at the pasta machine. Do not worry if the color is not uniform as you will eventually obtain a uniform pasta after several passes through the pasta machine.


 2. The pasta machine takes a lot of the hard work out if the rolling and stretching process. Just remember that you still need to take the time to work through all the settings until you reach the final setting in order to obtain the elasticity and silkiness that gives the best pasta. Different machine may work differently and please read through the machine instruction for the rolling and stretching process.

3. After getting the desired thickness, dry the pasta sheet for around 30 minutes before cutting into the desire width. I am drying the pasta by hanging the sheets over the chopsticks.
(NOTE: You may need to use a lot of flour to dust the final noodle in order to prevent them from sticking)

4. After drying process, you can cut the pasta using the pasta machine. In this case, I am using fine setting for the pasta noodle. Dust the noodle with a lot of flour to avoid the prevent the noodle from sticking.


Mushroom Sauce
Ingredients
3 tbsp olive oil
200 g of mushroom mix mushroom, brown and white mushrooms; removed all the roots
200 g bacon, cut into small pieces
200 ml of cooking cream
1 medium onion, diced
salt to taste
pepper to taste
a dash of parmesan cheese

1. Prepared all the ingredient and set aside.

2. To prepare the sauce, heat up the olive oil in a pan . Saute the onion until it is soft. Add in bacon and continue to saute until the bacon is brownish. Add in mushroom and saute for around 1-2 minutes until the mushrooms are soft. Add in the cooking cream and continue to braise for another 1 minute. Off heat and set aside.


3. To prepare the spaghetti, cook it with plenty of boiling water until al dente. Since this is a fresh pasta, the total time to cook the pasta will be shorter. Drain, reserving a little of the cooking water.

4. Heat up the sauce and transfer pasta into the sauce. Toss well and season with salt and pepper. Serve immediately with Parmesan Cheese.