Showing posts with label Desserts. Show all posts

Wednesday, 3 December 2014

Soft and fluffy Pumpkin Chiffon Cake

I was so shocked when I saw plenty of pumpkin in the supermarket and it reminded me of Halloween festival. My family does not celebrate Halloween; in fact my son always complaining of having nightmare around this season. I think it is due to his illusion from the scary advertisements. Anyway, since there are so many pumpkin, I have the urge of baking Pumpkin Chiffon. Unlike other cake, Chiffon cake is light in texture and can be prepared in a short time without much hassle.

Before preparing the baking ingredient, it is important to prepare the pumpkin in advance in order to make sure that the pumpkin puree is cool down before blending with other baking ingredient. As I shared in my other Chiffon cake post, the secret of having a fluffy texture for this cake is to have a perfect stiff egg white. Without a perfect stiff egg white, you will never get the soft texture of Chiffon Cake. The eggs need to be at room temperature so they will reach their full volume when beaten. Always use fresh egg as it is much easier to beat. Adding a little cream of tartar helps with it. although you can leave it out. Cream of tartar is used to give stiffness to the egg whites, so that the cake will not collapse easily. Not to forget to use a very clean mixing bowl to ensure egg whites can be whisked up easily until very stiff.

It is important that the batter is baked in an ungreased tube pan which allows the batter to cling to the sides of the pan as it bakes. The tube in the center of the pan lets the hot air circulate so the heat can reach the center of the bake and not over bake the cake. The cake needs to be turned upside down immediately upon removing it from the oven as this keeps from shrinking and losing its volume.

Hope the above tips, you will be able to bake a soft and fluffy Pumpkin Cake!

Ingredients
Egg Yolk Batter
80 g cake flour
70 g pumpkin puree
1 tsp baking powder (optional)
30 g castor sugar
5 medium egg yolk
1/4 tsp salt
80 ml milk/ coconut milk
40 g oil

Ingredient B
5 medium egg white
1/2 tsp cream of tartar (optional)
40 g castor sugar


1. Preheat the oven to 175'C and have ready a 22cm ungreased chiffon cake tin.

2. Sieve cake flour and baking powder together. Put aside.

3. To make the egg yolk batter, whisk egg yolks and castor sugar together until the batter is pale yellow. Combine with salt, oil and milk together. Stir in one direction until smooth and well-combined. Fold in flour until forms a smooth batter.

4. You may filter the batter to remove the lumps.


5. In another bowl, put in egg whites and cream of tartar into a clean mixing bowl. Use high speed to whisk until frothy. Add in sugar slowly. Continue to whisk until stiff but not dry. (Please refer to the video "How to whip egg white")

6. Once the egg whites are ready, gently fold in the stiff egg whites (in three additions) to the cake batter. (Please refer to the video "How to fold in egg white")


7.Pour the batter into a 22cm ungreased chiffon cake pan and bake at 175'C for about 10 minutes and then 165'C for around 30 minutes. You may test the cake readiness using the toothpick method.


8. Remove from oven, invert (turn upside down) and leave to cool completely before removing cake from the tin.


Friday, 24 October 2014

Mooncake-Taro/Yam Flaky Mooncake (芋頭酥)

It is all started from my friend who encouraging me to make mooncake this year. I do not have the 'push factor' until the eve of Mid Autum Festival after trying her snowskin mooncake. Since this is my first attempt, I have chosen an easier version for myself.....Yam Flaky Mooncake. The yam filling is easier to prepare than the lotus paste although there is a slight challenging in rolling out the skin. It takes time to be master. It takes me two days to master with the rolling. That is the reason, the actual quantity of my finished product (mooncake) turns out to be lesser as the filling was the balance from the earlier day.

The skin of this mooncake requires two different dough: Oil dough and Water dough. You may use butter as the leavening agent but the strong flavor of butter will eventually cover the yam's flavor. I would recommend to use vegetable oil for mooncake since we want to really enjoy the flavor of the filling.

For the filling, I used the ratio of 1:5 of oil to yam and I noticed that it is too dry. In my next trial, I am planning to increase the quantity of oil in order to improve the wetness of the filling. Smoothness is an important factor in the mooncake filling. Insufficient oil, the filling will look a bit dry. That is the reason I do not even dare to let my dad to try this batch of mooncake due to the dryness of the filling.

Some recipe calls for color. Since I am always using natural color, I am using beetroot this time as it is the only color I have in my fridge. That is the reason my mooncake does not look like the traditional mooncake color. For other color preparation, please refer to my blog on "Natural Food Coloring".


Yam Filling (20-24pcs)
500 g of yam filling
100 g of castor sugar
100 g of vegetable oil (you may use shallot oil for more fragrance)
A pinch of salt
30 g of wheat starch

Oil Dough
200 g of all purpose flour
90 g vegetable oil

Water Dough
230 g of all purpose flour
80 g water and coloring (beetroot)
80 g vegetable oil
30 g castor sugar
1/2 tsp vinegar

1. Yam filling: Cut the yam into slices and then steam using medium heat until the yam is soft. Immediately, transfer the yam into a food processor and blend with oil, sugar, salt and wheat starch. Set aside and let the filling cool down. Weighing out the filling at 35 g each.


2. To prepare the oil dough, mix flour and oil well. Knead for a while and let it rest for 30 minutes. Similar method is applied on the water dough except, you need to spend around 3-5 minutes in kneading the water dough in order to form a soft dough. Let water dough to site for 30 minutes as well.


3. After 30 minutes, divide the dough evenly by dividing each the weight of water dough and oil dough with 10 pcs.  Roll them in a ball.

4. Assembly: It is important to pay some attention on the rolling. Here is a good link of video showing how to roll the skin. Video of making Flaky Mooncake by KiwiSite


5. Preheat oven at 175'C and bake the mooncake for around 20-25 minutes.


Tuesday, 23 September 2014

Natural Color Rainbow Cake

Finally, it comes to the eve of my son's birthday (9 Years Old). Tonight, I have to bake at least 6 layers of butter cake with different color. Why at least 6 layers? It is because I might fail in the first attempt and need to re-bake it. Anyway, it is a really an exciting night for me. 

For the coloring, I opt for natural color. As a health conscious person, I am really worried on the chemical in the food coloring. With mentally and physically prepared, I am planning to use natural color for this cake. I think it is really important to get yourself physically prepared as you need to do a lot of cleaning and cooking in order to get the different color. Why mentally? It is because the color that you want to achieve may not be as nice as the artificial coloring. The color may not be as intense or as sharp as you thought.

You may refer to my website on the preparation of "Natural Food Coloring". Although it is tiring, I would say it is worth to spend some time as you do not have to worry on the chemical in the food coloring. Trust me....healthy is the most important. Do not think of tiredness...just take it as an enjoyment to prepare healthy food for the family.

Having said that, I do really feel proud of myself for spending so much time and effort in preparing the natural color for this cake. At the end of the day, you will feel the satisfaction when you see your kids enjoying the cake that is safe with natural color. No preservatives and no artificial coloring  :)


Ingredients for 1 layer of 8" round cake
100 g cake flour
60 g sugar
1 tsp baking powder
90 g butter
20 ml (milk and coloring)
3 small eggs
(NOTE: For the green color cake, you may add in 1 tsp of green tea. Other ingredient remain the same)

1. Preheat oven at 170'C.

2. Whisk butter and sugar until fluffy. Then, slowly blend in the eggs, milk and coloring while folding in the flour until everything is blended well.

3. Pour into a baking pan. Layer the batter well and bake for around 5-10 minutes. (Make sure that you had layered a piece of wax paper onto the bottom of baking pan)

4. Cool down the cakes, and put into fridge for at least 2 hours or overnight. This step is to ensure that the cake layers are harden and much easier to handle during assembly steps.


I have forgotten to take 2 batches of color....maybe I am too rushing  :)


Assembly the cake

This is the most important stage. We do not want to have a topple or uneven cake. I am using butter cream for my layering icing because it gives a stronger holding power as compare to whip cream. As a beginner, I always go for a safer approach. If you are a beginner, please watch the video on How to Decorate with Buttercream before started on the assembly steps. 


Butter cream
240 g butter
600 g icing powder
4 tsp vanilla essence
120 ml milk (or less, depending on the butter cream consistency)


Layering a thin layer of butter cream in between each layer of butter cake 

1. Butter cream acts as the 'glue' for the layering. Thus, before starting any layering, apply some butter cream on the cake board. Then, put on the first layer which is red onto the board. Make sure the cake layer sticks well on the board.

2. Then, starts applying a thin layer of butter cream on top of that red layer. Thickness should be around 2-3 mm as you do not want the cake to be so creamy. Do not worry of the appearance. 

3. After the butter cream is evenly spread onto the red layer, put orange layer on the top. Apply butter cream and repeat the same steps for other layers. 

4. Please remember to follow the RAINBOW COLOUR arrangement: RED, ORANGE, YELLOW, GREEN, BLUE, VIOLET

5. With the remainder of the butter cream, you may use to layer the side of the cakes to make sure that the gap is filled. 

6. Transfer the cake into the freezer to harden the cake again before frosting.


Frosting the cake: Cream Cheese frosting
225 g Cream Cheese
60 g butter
1 tsp vanilla essence
150 g icing sugar
NOTE: You may need to adjust the sugar according to the frosting consistency at room temperature. If the weather is warm, you need less of the icing sugar as cream cheese is softer. I have accidentally using 200 g and it is actually flowing down (eye tears) when I used it for my frosting.


Colorful layers....the color is not as attractive compare with 'food coloring'


Saturday, 20 September 2014

Natural Food Coloring

Coloring is an important ingredient in any baking. We want our cake to look attractive, thus coloring is important to achieve that outcome. There are a lot of negative comments on the food coloring and this makes me quite worrying whenever I am using food coloring. Due to my laziness, I always find an excuse to go for food coloring.

Everything changes today. I want to go for Natural Color from now on. We have been eating a lot of unhealthy food and I do not want my home becomes another unhealthy place. Everything comes in 'yin and yang'. If too much 'negative' food, at home always have to provide 'positive' food to balance up the life. This is just my thoughts. Maybe it is not correct  :)

Here are the colors that I would like to prepare:

Violet: Blueberry
Blue: Purple cabbage
Green: Green Tea
Yellow: Saffron
Orange: Carrot
Red: Beetroot


Since I am going for natural color, I always prepare the color a few days in advance. I froze the color in the freezer and defroze them by locate them in the vegetable compartment for a few hours before use them to bake any cake.


Here is the preparation of the colors:

1. Red: 1 medium Beetroot 
Beetroot is the best coloring due to its intense color. The color is so dark and you do not need to use a large quantity of it. The juice of the beetroot can be easily extracted using a juicer.  Then, transfer the juice into a pot and cook over a medium heat until it is thicken up.


2. Orange: 3 medium Carrots
Juice out the pure carrot juice using a juicer. Then, transfer the juice into a pot and cook over a medium heat until it is thicken up. The color looks a bit darker.


3. Yellow: 1 tbsp Saffron
Transfer Saffron into 2 tbsp of hot water. Let it sit for half an hour until the color is extracted out.


4. Blue: 1/2 medium purple cabbage  
Boil 100 ml of water. Put in the cabbage and let it boil until the cabbage leaves are soften or for around 10-15 minutes. Strain out the cabbage, reduce the liquid until it is thicken. Add just the tiniest pinch of baking powder (you really have to go slowly here or you can turn the whole batch green). Keep adding baking soda in small amounts until the color just turns blue. Remember,  the color of blue can still change. If you add it to an acidic food, it will go right back to purple.

I was accidentally added too much of baking soda and the color turns out to be slightly greenish


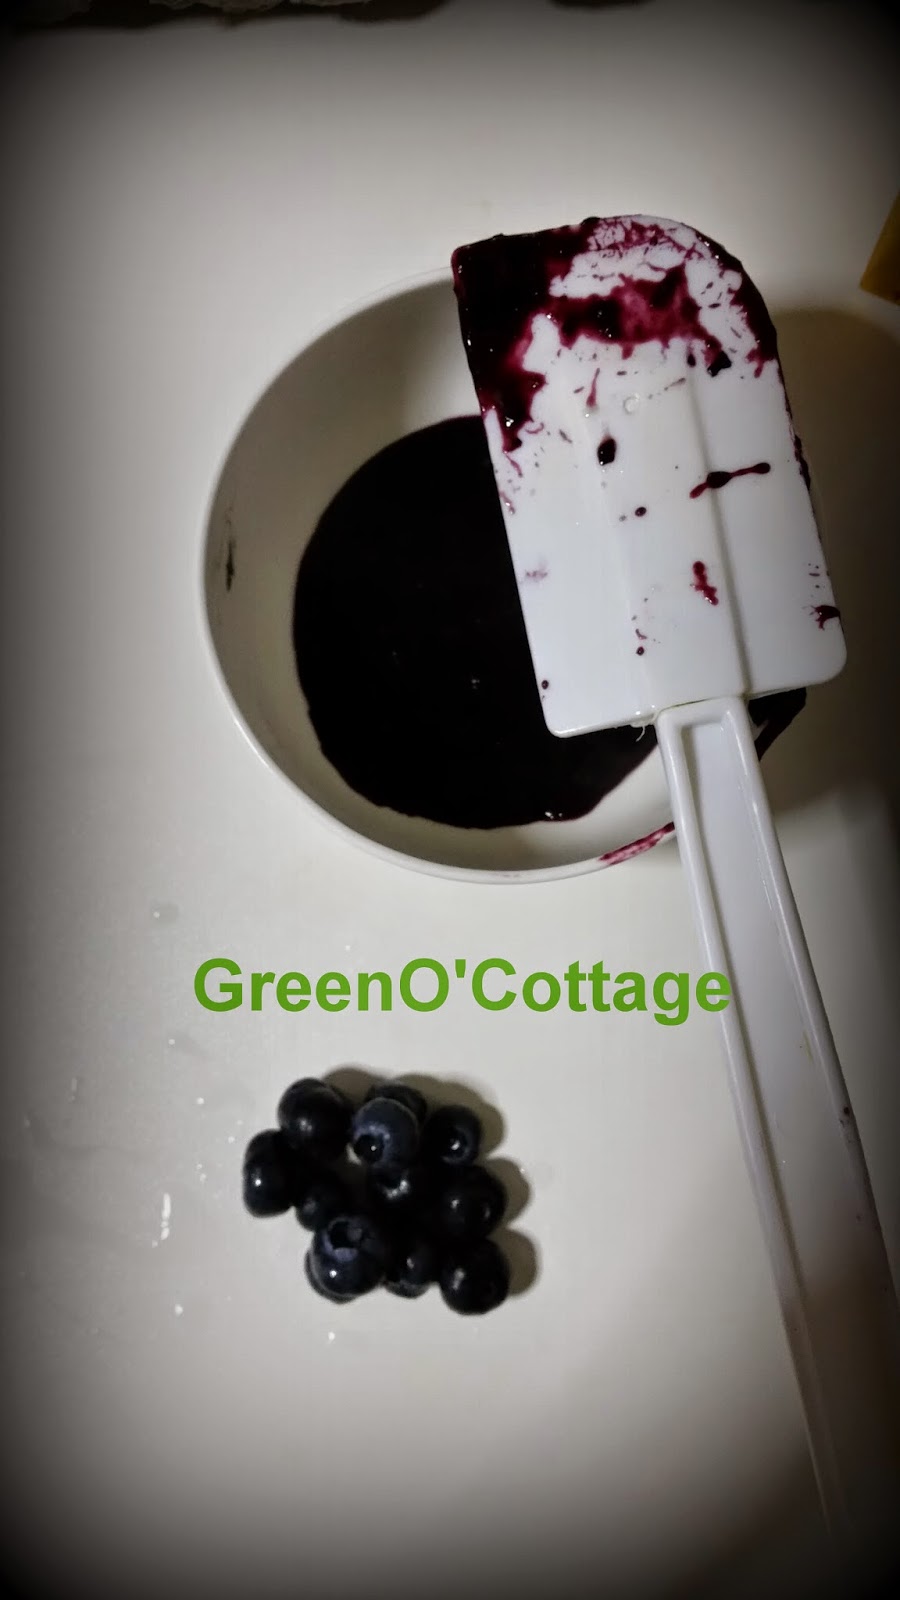
5. Violet: 100g of blueberries
Wash and blend all the blueberries in a blender. Then, transfer the juice into a pot and cook over a medium heat until it is thicken up.


Friday, 25 July 2014

Soft and Fluffy Black Sesame Chiffon

Once you have master the skill of making chiffon, you can blend in any ingredient to make it into different flavor. Since my son has to attend a Birthday Party later, I am planning to bake a Sesame Chiffon Cake for him to bring over. Why Sesame Chiffon? It is simply because I love sesame and it is the only ingredient that I have.

Since the packet of sesame that I had is already premixed with sugar, I am planning to reduce some sugar quantity in this recipe. To start off my experiment, I will normally try to maintain all the quantity in my original recipe as this will make my life whenever I need to tweak the 'formulation'.

I am lucky enough that this Sesame Chiffon is quite easy to bake and no adjustment on the original recipe is needed. One time succeeded!!!! If I would to improve this cake, I am planning to increase the quantity of my sesame by 10g in my next trial. This will make the sesame flavor denser.

Off I go......start experimenting  :)


Ingredient A
Egg Yolk Batter
80g cake flour
25g sesame powder
1tsp baking powder
30g castor sugar
5 medium egg yolk
1/4 tsp salt
80ml milk
50g oil


Ingredient B
5 medium egg white
1/2 tsp cream of tartar
40g castor sugar


1. Preheat the oven to 165'C and have ready a 22cm ungreased chiffon cake tin.
2. Sieve cake flour, sesame powder and baking powder together. Put aside.
3. To make the egg yolk batter, whisk egg yolks and castor sugar together until the batter is pale yellow. Combine with salt, oil and milk together. Stir in one direction until smooth and well-combined. Fold in flour until forms a smooth batter.
4. You may filter the batter to remove any lump.


5. In the other bowl, put in egg whites and cream of tartar into a clean mixing bowl. Use high speed to whisk until frothy. Add in sugar slowly. Continue to whisk until stiff but not dry. (Please refer to the video "How to whip egg white")
7. Gently fold the stiff egg whites (in three additions) into cake batter just blended (being careful not to deflate the batter). (Please refer to the video "How to fold egg white")


8. Pour the batter into a 22cm ungreased chiffon cake pan and bake at 165'C for about 40-50 minutes.You may test the cake readiness using the toothpick method.

9. Remove from oven, invert (turn upside down) and leave to cool completely before removing cake from the tin.

Opps....there is a small defect at the corner.
Next time will be more careful when trying to remove from the pan  :)


Dry, soft and fluffy Sesame Chiffon!!!


Wednesday, 28 May 2014

Nyonya Angku (Red Tortoise Cake) 紅龜粿

Nyonya Angku or AngKu Kueh is a small round Chinese pastry made from glutinous rice flour wrapped with sweet filling. It is normally consumed during important festivals such as Chinese New year as it is believed that AngKu Kueh will bring longevity, good fortune and prosperity to those who are eating it.

I always have the phobia to make AngKu Kueh especially the filling as I thought it would be very challenging to get a smooth filling until one day, my friend treats us her homemade AngKu Kueh! Because of her AngKu Kueh, I have the courage to start making the AngKu Kueh. 

Here is the recipe that I adapted from NasiLemak Lover. I have added in extra oil in the filling as I prefer a smoother fill. If you prefer a dry fill, you may use less oil in the filling.

Ingredients (makes around 40 pcs, mould size 4cm x 5cm)

Sweet Filling
250 g split yellow mung beans/ green beans
80 g sugar (or more, if you prefer sweeter filling)
100 ml oil

1. Rinse mung beans several times and soak in clean water for 1 hour.
2. Drain the mung beans and steam over high heat for 30 minutes or until the bean is soft.
3. While the beans is still hot, place bean, sugar and oil in a food processor, blend until fine. You may add extra sugar if you prefer sweeter filling.
4. Set aside to cool. Shape into 14 g small ball.


Skin
300 g sweet potato (any preferred color, I am using purple), peeled off the skin
200 g glutinous flour
1 tbsp rice flour
2 tbsp sugar
3 tbsp oil
130 ml hot water, or adjust accordingly

1. Cut sweet potatoes into big pieces and steam until they are soft, about 15-30 minutes.
2. Mashed the cooked sweet potatoes.
3. Add in glutinous rice flour, rice flour, sugar and corn oil into the mashed sweet potato. Slowly add in hot water to mix until soft dough is obtained. Keep aside and rest for 10 minutes.
4. Shape into 14 g small ball.


To prepare AngKu Kueh
Banana leaves; cut into the correct size that match with the Angku mould and blanched with hot water until the leaves are soft. Dried them with a clean cloth.


1. Dust the mould with glutinous rice flour for easy remove.
2. Flatten the sweet potato ball, place a mung bean ball, cover and shape into round ball.
3. Place the ball in the mould, flatten and then knock out.
4. Place on a greased banana leaf.
5. Arrange kueh on s steaming tray and steam over medium to low heat for 5-10 minutes. Do not steam over high heat as as heat will destroy the Angku's pattern.
6. Once done, remove from steamer and brush the kueh surface with corn oil.


Tuesday, 8 April 2014

Low Calories Blueberry Cheese Cupcake

Today I am really craving of Cheesecake! I kept on thinking of the creamy cheesecake texture melted over my throat.

With the limitation of time and ingredients, I came out with this recipe. We only use around 45 minutes from weighing the ingredients to fully bake the cheese cake! That is really amazing, isn't it?

Since this recipe is so simple, I have offered my kids to do some mixing steps and baking for me. I am doing the cleaning and scooping the cheese mixture into the cake mold. My son is helping me in preparing the base and cream mixture while my girl is performing the most important task .....ON and OFF the mixer!

In this recipe, I am using low fat cheese cake so that it will lower some of the calories  :)
The most important step of making this cake is having a smooth cheese mixture. Thus, the mixing process is really important here. Other than mixing, there is no other challenge in baking this cake. It is a real cake for beginners... you can image, even my kids can make this cake!

This cake is really yummy and my kids really love it!!!

Ingredients
250g low fat cream cheese (Philadelphia low fat cream cheese)
5 tbps of caster sugar
140g low fat yogurt
1 egg
50g fresh blueberry

90g digestive biscuit (or any high fiber cookies)
1 tbsp melted low fat margarine/butter


1. Preheated oven to 160'C.

2. Use a roller to roll over the digestive biscuit until fine. Use a spoon to mix digestive biscuit and melted margarine well. Pour into paper cups. Press flat by using spoon.


3. Mix cream cheese and caster sugar at medium speed for about 3 minutes until fluffy. Stir in egg until it is well mixed. Lastly, add in yogurt and blended well.

4. Add in blueberries and combined with the mixture with a spoon. 


5. Pour./Scoop cheese mixture into paper cup with 3/4 full using a spoon. 

6. Bake in preheated oven over hot water bath for 30-35 minutes. Cool them down before store in refrigerator for about 4 hours before serve.


In

Wednesday, 12 February 2014

Japanese Cotton Cheesecake

I am the type person who do not really like cheesecake. However, I am amazed with this fluffy and soft cheesecake. The taste is mild and this cheesecake is not as dense as the traditional cheesecake and yet the cheese flavour taste so good when it melts in your mouth. I was first get to know about this cheesecake 6 months ago and I have no time to explore it until these few days when it is nearer to X'mas since this is holiday season and no activities for kids as well.

The secret of baking this cake is the egg white. You must have a stiff white egg in order to get a fluffy soft cheesecake. You may refer to this link on "How to beat egg white."

Initially I thought using more egg white will help the texture but it turns out very wet and soggy. Thus, in this recipe I have reduced the egg quantity in order to improve the cake texture.

Another thing to take note is the batter. It is necessary to sieve the batter in order to remove all the big lumps. This will make your cheesecake more perfect.


Ingredients
40g Cake flour
15g Cornstarch
40g Butter
125g Cream Cheese
80ml milk
3 medium egg yolks
75g sugar
2tbsp lemon juice
3 medium egg white


1. Preheat oven to 150'C

2. In a bowl, combine milk, butter and cream cheese together. Heat and melt them using a double boiler method. Slowly whisk them until a smooth mixture is formed. Let it cool down.

3. Sieve both cake flour and cornstarch together and put aside.

4. In a separate bowl, whisk the egg yolks with 40g of sugar until pale yellow. Slowly blend in the milk cheese mixture from step (2) and then add in lemon juice.

5. After that, slowly mix in flour into the mixture (4) until the mixture is homogeneous.

6. If there is large lumps, sieve the mixture (5).

7. In a clean bowl, whisk egg white with sugar until a stiff white egg is formed. Please refer to "How to whip egg white".

8. After obtaining a stiff egg, fold in the egg white slowly into the cheese mixture (5). Please refer to "How to fold in egg white".

9. Pour the batter into a wrapped square tin or spring foam. Bake the cake in a boiled water pan. (Similar method as you bake cheesecake).

10.Bake the cake at 150'C for 1hour and 20 minutes. You may test the cake readiness using the toothpick method.

11. Once it is ready, off the oven and let the cake continue to sit inside the oven with the door ajar for another 5-10 minutes. A sudden change in the environment temperature will cause the cake to shrink.

12. Remove the cake from the oven and let it cool down fully.

13. Chill the cake in the fridge for overnight and ready to serve.


Tuesday, 7 January 2014

Caramel Custard

I was 10 years old when it was my first time tasting this custard in an old shop near my hometown, Ipoh. The egg was so smooth and silky. During that time, we were not afford to have one order per person, so three siblings was sharing an order. You can imagine how precious that custard to us. We ate the
custard very slowly so that we could really taste the flavor of the custard. I could still recall that we drank every single drop of juice of the custard. My sister even licked the plate!

I was happy that I am able to taste the same custard during my trip last year. Although it is a bit too sweet for me now, it recalls a lot if my childhood memory. Even my kids love it so much.

In order to give a memorable experience for my kids, I am learning to make so that my kids will enjoy the similar food that I had during my childhood... Let the good memory flows to the next generation.

Ingredients

Caramel 
5 tbsp sugar
1 tbsp water


Custard
3 medium eggs
500ml milk
80g sugar
1tsp vanilla essence


1. To make the caramel, mix the sugar and water together. Heat with low heat until the sugar is melted and caramelized. Put a tbsp of the caramel into a bowl. For this recipe it can coat around 4 bowls. Let it set and cool down.

2. Heat up water and get ready for steaming the custard.


3. Mix all the custard ingredient together. Sieve the egg mixture to remove the bubble and any residue. Transfer the eggs mixture into 4 bowls that has coated with caramel.


4. Steam for 7-8 minutes using low heat. If the heat is too big, you may leave around 1 cm gap between the cover and pot (I am using chopstick to hold the cover). This is to ensure that the egg is not overcooked due to the high heat while maintaining a smooth egg surface.


5. Off the heat and let the custard to sit in the steam for another 5 minutes.


6. Remove the bowls from the pot and let them cool down before putting them into the fridge. Refrigerated for at least 5-6 hours before serving.


Wednesday, 18 December 2013

How to fold in egg white

Besides having a stable stiff egg white, folding process of the stiff egg white into the cake batter is an important step. Properly folding egg whites into your batter makes your recipe light and fluffy and so, care must be used to keep from over mixing the fluffy character of the egg whites away.

It takes time to understand and familiar with the folding process. Do not worry, practice makes perfect. I ever failed this step and spoiled my whole cake. Hopefully the following steps and attached video can help you to master the folding process.

Put about 1/3 of the whipped egg white into the batter. Using a large spatula, cut a path down the middle of the mixture with the edge of the spatula. Then gently turn half the mixture over onto the other half. Continue cutting down the middle and turning a portion over. Do not stir. The purpose of folding is to retain the air you have beaten into the whites. Be careful to only work the batter enough to incorporate the whites, and never use an electric mixer for this step. Repeat the same steps for the entire of the whipped egg white.

Tips:
  • Do not add the egg whites until you are ready to do the folding process.
  • Make sure all other ingredients are thoroughly mixed before adding the egg whites.

  •  

    Monday, 16 December 2013

    Pandan Chiffon Cake (Extra soft)

    I  have been trying a lot of different recipes and fine tune my technique in order to bake a soft and fluffy Chiffon Cake. It takes me about 2 years to master this cake. Although I have failed a lot of times, my passion towards baking will never die. I would say baking Chiffon Cake needs some luck. Today, you may bake it successful but the next day you may fail even though you are using the same recipe. Below are some notes that may help you master in Chiffon Cake.
    I would say, having a perfect stiff egg white is the secret of baking this cake. Without a perfect stiff egg white, you will never get the soft texture of Chiffon Cake. The eggs need to be at room temperature so they will reach their full volume when beaten. Always use fresh egg as it is much easier to beat. Adding a little cream of tartar helps with us, although you can leave it out. Cream of tartar is used to give stiffness to the egg whites, so that the cake will not collapse easily. Not to forget to use a very clean mixing bowl to ensure egg whites can be whisked up easily until very stiff.
    Another important ingredient in the cake is the oil. The presence of oil and coconut milk in the recipe will give a moist texture to the cake. Coconut milk used in the recipe will further enhance the taste of the cake. You may substitute with soya, however the taste will never be the same as compare with coconut milk. As for the oil, you can use any flavourless oil; vegetable, canola, corn or even sunflower oil.
    To make the cake healthier, it is highly encourage to use home made pandan juice than using green coloring and pandan essence. With the help of a blender, extracting pandan juice from the plant is much easier. I would normally stored the pandan juice for overnight before using. On the next day, a layer of  concentrated pandan residue will settle at the bottom. I will normally use that layer as it has a stronger taste.
    It is important that the batter is baked in an ungreased tube pan which allows the batter to cling to the sides of the pan as it bakes. The tube in the center of the pan lets the hot air circulate so the heat can reach the center of the bake and not over bake the cake. The cake needs to be turned upside down immediately upon removing it from the oven as this keeps from shrinking and losing its volume.

    Hopefully you will also succeed with the baking! 
    ------------------------------------------------------------------------------------------------------------------------
    Ingredients A
    100g cake flour
    1 tsp baking powder
    5 medium eggs yolks
    40g castor sugar
    1/4 tsp salt
    30ml oil
    60ml coconut juice
    50ml concentrated pandan juice
    1/2 tsp pandan essence (optional)
    Ingredients B
    5 medium egg whites
    1/2 tsp cream of tartar
    40g castor sugar
    1. Preheat the oven to 150'C and have ready a 22cm ungreased chiffon cake tin.

    2. Sieve cake flour and baking powder together. Put aside.

    3. Whisk egg yolks and castor sugar together until the batter is pale yellow. Add in the salt, oil, coconut juice, pandan juice and pandan essence together. Stir in one direction until smooth and well-combined. Mix this mixture into the flour.

    4. Beat until smooth (about one minute). Scrape down the sides of the bowl as needed.

    5. You may filter the batter if there are a lot of lumps.

    6. In the other bowl, put in egg whites and cream of tartar into a clean mixing bowl. Use high speed to whisk until frothy. Add in sugar slowly. Continue to whisk until stiff but not dry. (Please refer to the video "How to whip egg white")

    7. Gently fold the stiff egg whites (in three additions) into cake batter just blended (being careful not to deflate the batter). (Please refer to the video "How to fold egg white")

    8. Pour the batter into a 22cm ungreased chiffon cake pan and bake at 150'C for about 30 minutes until lightly brown. Change to 180'C and continue to bake until 100% cooked and golden brown.


    9. Remove from oven, invert (turn upside down) and leave to cool completely before removing cake from the tin.


    Sunday, 1 December 2013

    How to whip egg white

    The process of whipping egg white is very important. A steady stiff egg white contains a lot of fine bubble trapped inside. This bubble is important to hold the cake mixture.

    The following video shows how to whip egg white. This method implies for every recipe that requires stiff egg white.

    Tips:
  • Eggs at room temperature whip better than eggs straight out of the fridge.
  • Try to use fresh egg as it is easier to whip


  • Saturday, 30 November 2013

    Pandan Layer Cake

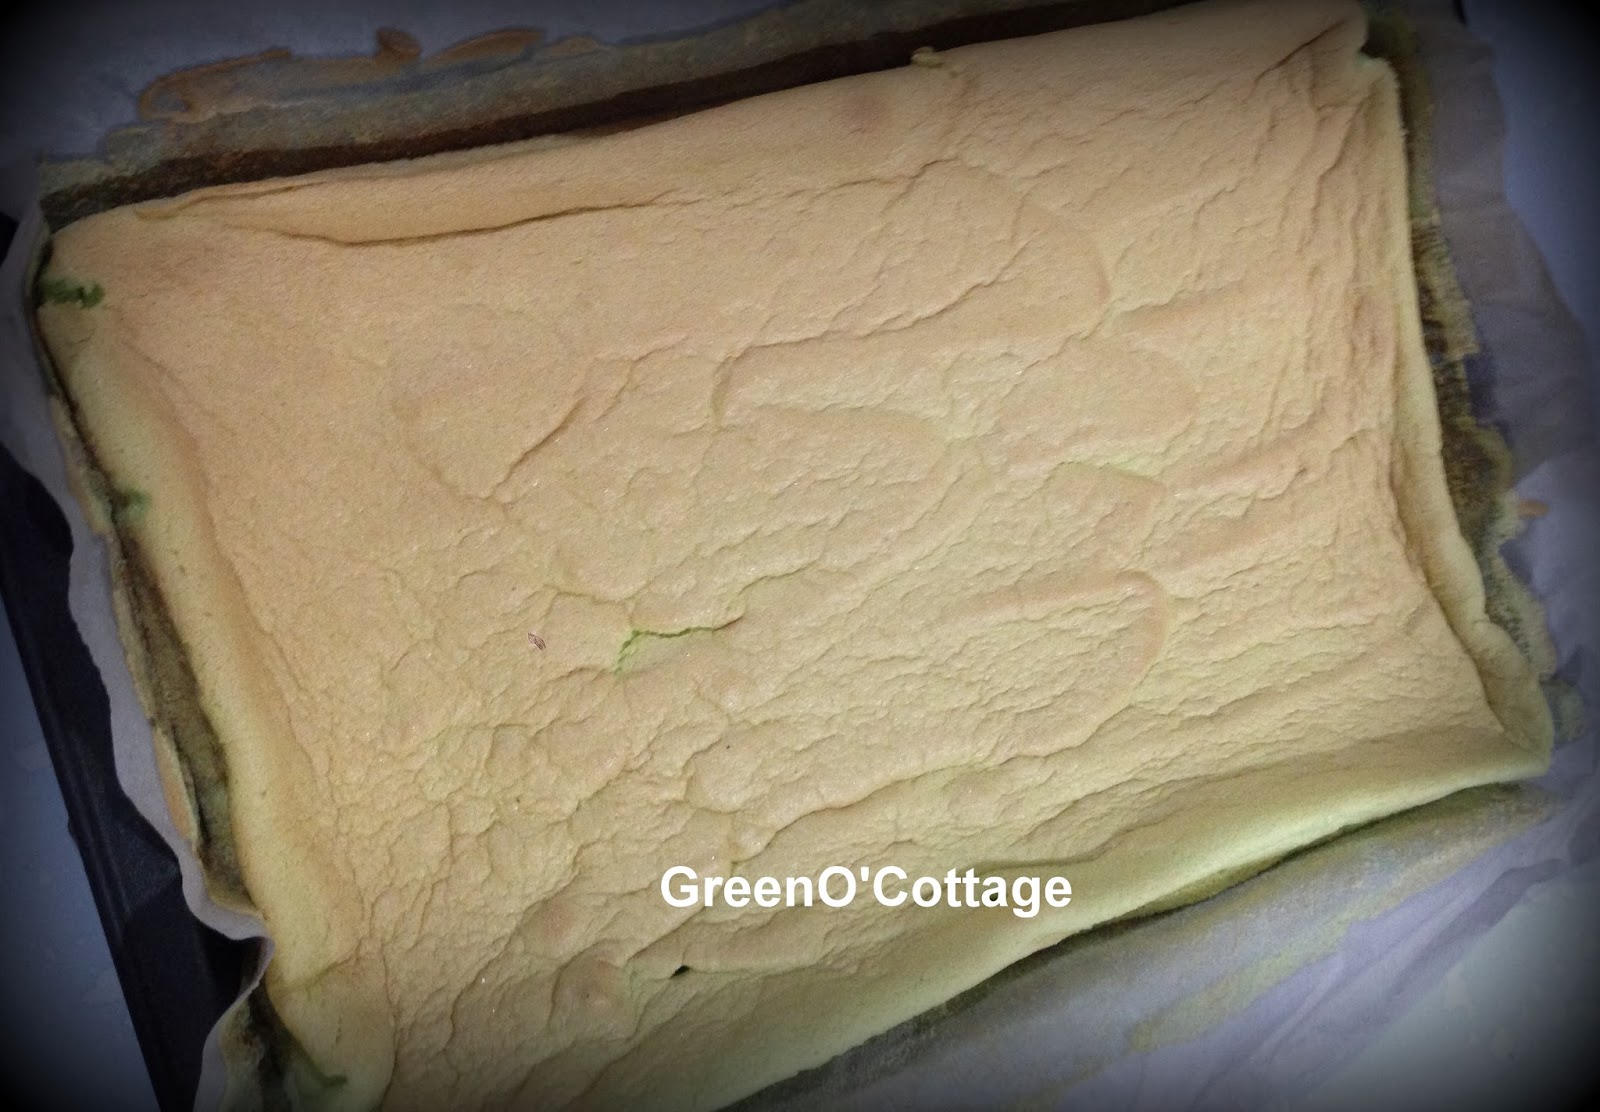
    Pandan Layer Cake is made from a layer of sponge and custard. It has to be fridge before consuming it. Since the custard layer is made from coconut milk, it has a very rich flavour. Fresh coconut milk is the best to be used in this recipe. You may substitute coconut milk with soya or milk if you do not like taste of coconut. Pandan juice used in this recipe will enhance the fragrant and colouring.

    Ingredients: Sponge layer
    100 gram cake flour
    1 tsp baking powder
    5 medium eggs (separate the yolks and white eggs)
    50 gram oil
    60ml coconut milk
    40ml pandan juice
    1/2 tsp pandan essense
    75 gram sugar
    1/4 tsp salt
    1/2 tsp of tartar

    1. Preheat oven to 165'C.
    2. Sieve the cake flour and baking powder.
    3. In a separate bowl, beat the yolks together with 1/3 of the sugar with a whisk until the mixture becomes pale.
    4. Slowly mix in the oil, coconut milk, pandan juice and pandan essense with a spatula.
    5. Mix until the mixture is homogenous and keep aside.
    6. In a clean bowl, whisk the egg white until bubbles starts to appear. Add in cream of tartar and continue to whisk using high speed. After the cream of tartar blends well with the eggs (takes around und 10 second), add in 1/3 of sugar and continue with high speed. The remainder of the sugar should be added in after the earlier sugar blend well with the eggs. (Make sure that there is no yolk in the white egg).
    7. Continue with high speed until they are uniformly white and stiff but soft peaks. This is a critical step for this cake as the white egg needs to hold the cake mixture in order to give a soft cake texture.

    (Tips: You can test the readiness of the white eggs by checking the texture around the whisk. It is ready if the white eggs is stiff and able to hold its shape. Only the tip is curling back when we hold the whisk in up-right position).
    Please refer to the video on "How to whip egg white" for more information.


    8. Put about 1/3 of the whipped egg white into the batter, and mix it into the batter. Using a large spatula, cut a path down the middle of the mixture with the edge of the spatula. Then gently turn half the mixture over on the other half. Continue cutting down the middle and turning a portion over. Do not stir. The purpose of the folding is to retain the air you have beaten into the whites. Be careful to only work the cake mixture enough to incorporate the whites, and never use an electric mixer for this step. Continue with this process until all the entire egg white is blended well with the cake mixture.

    9. Pour the batter into a 9"x13" pan. Use a spatula to flatten the batter surface. Bake the batter in a preheated oven for 30 minutes or the batter is done.

    10. You may check the cake readiness by inserting a toothpick into the center of the cake. If there is any wet batter clinging to the toothpick, the cake is not ready yet. You may perform the toothpick test again in another five minutes. If nothing sticks to the toothpick, the cake is ready to be taken out of the oven.

    11. Remove the cake from the pan and allow to cool on the wire cooling rack until it is ready to serve or store.


     Ingredients: Custard layer
    6 tbsp. of hoen kwe powder
    400 ml pandan juice (I am using a whole bunch of pandan leaves)
    350ml coconut milk
    3 tsp instant jelly powder
    100g sugar
    1/4 tsp salt
    1/2 tsp pandan essence (optional)

    1. Mix jelly powder, sugar, salt together with pandan juice and coconut milk. Keep it aside for 30 minutes. This will help the jelly to dissolve easier later.
    2. After 30 minutes, mix in the hoen kwe powder.
    3. Heating up the mixture using low heat and cook until the mixture is thick. Add in the essence.
    4. You may strain the batter to remove any lumps that may have formed.
     To assemble:
    1) Divide the sponge layer into 3 pieces.
    2. Place a slice of cake into a container and pour 1/3 of the custard filling onto the cake.  Repeat layering of cake and custard filling (2x).  
    3) Cool the cake first before placing in the fridge to set.

    Sunday, 17 November 2013

    Blueberry Cheesecake

    Blueberries have a diverse range of micronutrients, with moderate levels of the essential dietary mineral manganese, vitamin C, vitamin K and dietary fiber. Blueberries not only provide relatively low glycemic load, some studies indicate that they can also improve memory.

    ---------------------------------------------------------------------------------------

    Ingredients: Blueberry Puree
    1/2 cup water
    1 1/2 cup organic blueberries
    2 tbsp lemon
    1 tbsp sugar
    1 1/2 tbsp corn flour


    Mix all the above ingredients and boil them for 30 minutes until all the blueberries becoming puree. Sieve and set aside.


    Ingredients: Cheesecake base
    110g butter
    180g Digestive biscuits, finely crushed
    50g cornflakes, finely crushed
    20g cocoa powder, sifted
    20g brown sugar

    Ingredients: Cheesecake filling
    500g Philadelphia cream cheese, at room temperature
    120g castor sugar
    20g corn starch, sifted
    230g Mascarpone cheese, at room temperature
    4 medium eggs, beaten
    1 tsp vanilla
    300ml whipping cream
    200g blueberry puree

    Base
    1. Melt butter in a pan over a low heat until it is boiling.
    2. Add in combined biscuits, cornflakes, cocoa powder and brown sugar.
    3. Stir-fry thoroughly until they are combined and mixture is fragrant.
    4. Grease a round 9" false bottomed or spring form cake pan. Spread and press mixture evenly until 
        firm. Spread melted chocolate on base if desired. Refrigerate until set.

    Cheese filling
    1. Beat cream cheese in an electric mixer at low speed until smooth and fluffy.
    2. Add in sugar and beat until well combined. Scrape down on side of bowl frequently during
    beating.
    3. Mix in corn starch until combined.
    4. Stir in mascarpone cheese gently until softened mix into cream cheese mixture on low speed.
    5. Slowly add in eggs until combined.
    6. Stir in cream.
    7. Pour half cheese mixture on the biscuit base.
    8. Put blueberry filling into a piping bag. Pipe half the filling on the cheese mixture in circular
    movements.
    9. Top with remaining cheese mixture. Then, pipe remaining blueberry filling in three round circle. (Please refer to the left image below)
    10.With a toothpick, make a line across the circular design from the centre towards the outside of the web. This will give a pattern looks like a spider web. (Please refer to the right image below)
    11. Place cake pan in a 10" pan over a larger dish and fill with boiling water until it reaches half the height of the cake pan.
    12. Bake in preheated oven at 150'C for 15 minutes. Then, reduce oven temperature to 140'C and bake for another 40 minutes or until the cake is set but still wobbly in the centre. Turn off the oven and leave the cake in the oven with the door closed for 30 minutes.
    13. Remove water bath and leave the cake to cool in oven for two hours with the door ajar.
    14. Cool cake completely. Cover and refrigerate overnight.

    Here is a website to show how to cut a cheesecake (WikiHow)


    My first attempt of 'Spider Web" Cheesecake. There is still a large gap
    of improvement  :)